How To: Installing FreeBSD as a Guest OS in Parallels 4
I’m by no means a UNIX expert, but I’ve managed to get the latest stable version of FreeBSD, (7.1), up and running as a guest OS using Parallels Desktop 4. In this tutorial, I will explain exactly what was done to achieve this.
First, you must download the latest stable version of FreeBSD, (at the time this article was written it’s 7.1). Once the download is completed, launch Parallels and chose the ISO image as the source.
Next, you’ll have to tell Parallels how many CPU’s and the amount of RAM you would like to allocate for the virtual machine. I chose 1 CPU and 512 MB of RAM.
After deciding how much RAM and the number of CPU’s you will allocate, you’ll have to configure your hard disk options. First, tell Parallels that you’d like to create a new image file. The next screen will ask you to determine whether or not you’d like to create a plain disk or an expanding one, (i.e. sparse image). Choose a plain disk and specify the amount of space you’d like it to utilize, (5GB should be plenty for a standard install).
The next step you’ll have to take is to determine what type of networking you’d like the virtual machine to utilize. I chose bridged networking, because I’d like the FreeBSD install to appear as a separate machine on my network.
That should be it for configuring Parallels, now it’s time to boot FreeBSD.
The first thing you’ll need to do once FreeBSD has booted is choose the type of install you’d like to set up. I chose a standard install, (remember, I’m no expert).
Now you’ll need to partition your disk, (the virtual one, of course), for use with FreeBSD. Hit the ‘A’ key on your keyboard to use the entire disk. This will utilize the entire amount you specified when configuring Parallels.
Once you’ve configured your partition/s, you’ll need to specify whether or not you’d like to use the FreeBSD boot manager or not. Because we are working in a virtual machine, you’ll want to use the FreeBSD boot selector. Don’t worry, it won’t affect your Mac’s built in boot manager.
Now that that’s finished, you’ll want to tell FreeBSD how much space you would like to use for your file system and how much for your swap partition. I chose to use 4 GB for my file system and 1 GB for my swap partition. You’ll also have to specify the mount point for the partition, (I simply chose “/”).
Next you’ll be asked to choose your distribution set. I chose to install all system sources, binaries, and the windowing system. This all fits nicely into the 5GB image we just created.
The last step is to choose your installation media. Notice that there is no image file option, so you’ll have to tell it that you’re installing from CD/DVD media.
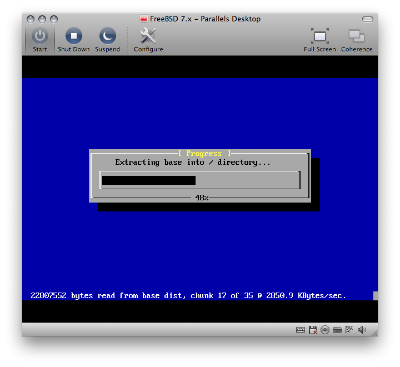
That’s it. You should be up and running with FreeBSD as a guest OS.
